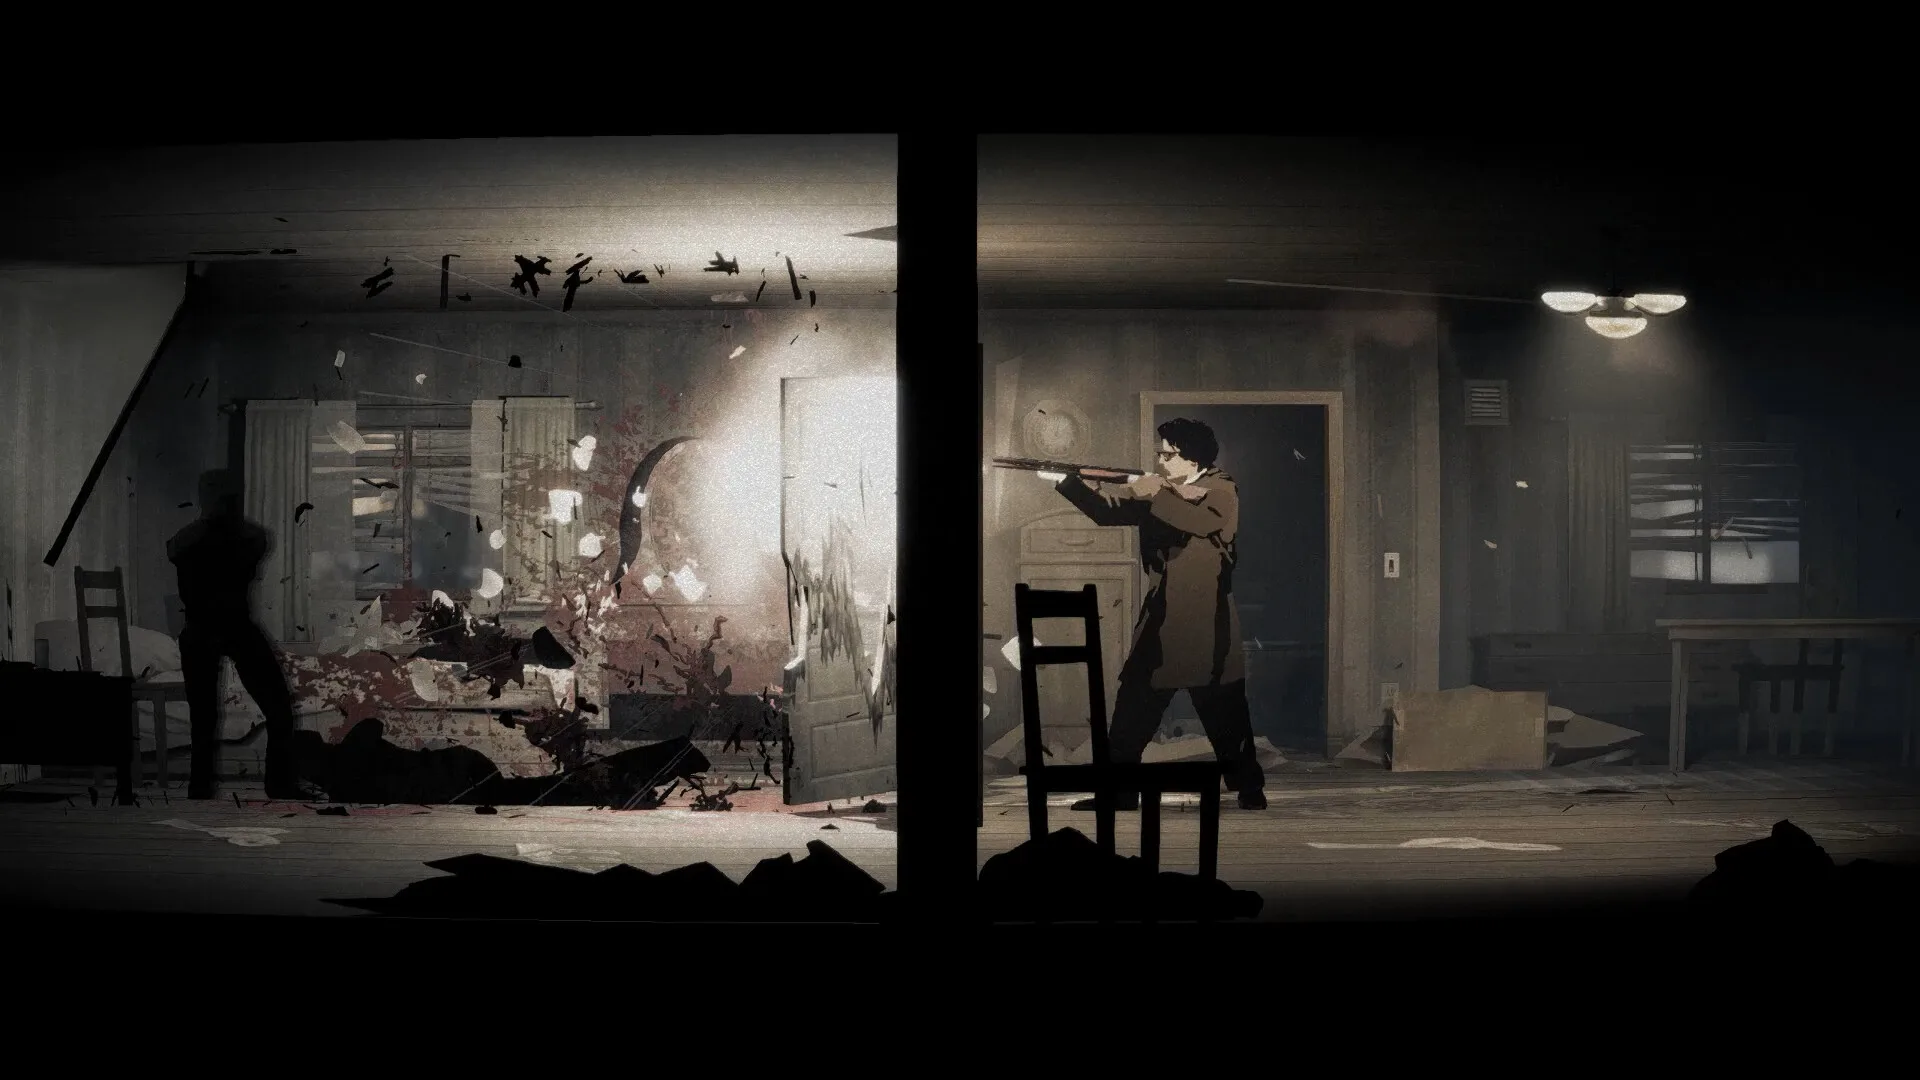
- Silver Pines boss fight spans two encounters: the Warden of the Pines (Chapter 4) and the three-phase Heart of the Pines finale.
- Phase 2 weakness: Lantern light exposes the Heart's core — keep your light source fueled.
- Phase 3 objective: Burn all three anchors while managing stamina under root-sweep pressure.
- Preparation: Batteries, first aid, and full stamina reserves decide most failed attempts.
- Endings link: Your boss-fight choice at the Heart gates the true, bad, and hidden endings.
Silver Pines Boss Fight Overview
Silver Pines keeps direct combat rare, which makes its two boss encounters stand out. The mid-boss, the Warden of the Pines, guards the crypt beneath the Chapel & Graveyard in Chapter 4. The final boss, the Heart of the Pines, waits at the bottom of the mine in a three-phase fight that tests everything you've learned about light, stamina, and resource discipline.
Neither fight allows brute force. Silver Pines rewards pattern recognition and patience, and both bosses punish players who sprint carelessly or let their flashlight die at the wrong moment.
Warden of the Pines (Mid-Boss)
- Location: Chapel crypt, Chapter 4
- Unlock: Solve the gravestone symbol puzzle first
- Threat: Heavy melee pressure in a tight arena
- Difficulty: ★★★☆☆
Heart of the Pines (Final Boss)
- Location: Bottom of the mine, Chapter 5 finale
- Phases: Three, escalating each time
- Threat: Root sweeps, core exposure, anchor burns
- Difficulty: ★★★★★
Both boss arenas lock you in until the fight ends. Stock batteries and first aid at the last safe room before entering the graveyard crypt or the mine descent — there are no pickups inside either arena.
Warden of the Pines: Chapter 4 Strategy
The Warden encounter begins the moment you open the crypt door after matching the gravestone symbols to the chapel murals (Winter, Spring, Autumn, Summer). The arena is a low-ceiling crypt with four stone pillars, and the Warden's attacks are all about controlling space.
| Attack | Tell | Counter |
|---|---|---|
| Grave Wave | Warden slams the floor with both arms | Sprint sideways, then pause to recover stamina |
| Crypt Charge | Lowers shoulder, glows faintly at the shoulders | Break line of sight behind a pillar |
| Grasp Chains | Raises one arm, chains ripple across the floor | Keep moving; chains only catch stationary targets |
The pillars are the key to the whole fight. The Warden cannot path through them quickly, so circling the arena pillar-to-pillel keeps you safe while you wait for the vulnerable window after each Grave Wave — the Warden kneels for a few seconds, which is your only reliable damage opening.
The Warden's charge removes a large chunk of health and knocks you into wall debris. With limited first aid in Chapter 4, two consecutive charges can end the run. Dodge first, damage second.
Heart of the Pines: Phase-by-Phase Breakdown
The final boss fight is the climax of Chapter 5's descent into the mine. After gathering the three ritual tokens from the boathouse, ice shanty, and drowned chapel, you face the Heart of the Pines in a three-phase encounter. Each phase changes the rules, so treat them as three separate mini-fights.
| Phase | Mechanic | Objective | Main Danger |
|---|---|---|---|
| Phase 1 | Root sweeps across the arena floor | Survive and position near the anchors | Root sweeps deal heavy stamina damage |
| Phase 2 | Lantern light exposes the core | Shine light to reveal and strike the core | Battery drain is severe |
| Phase 3 | All three anchors must burn | Burn every anchor while dodging | Escalating root speed and arena shrink |
Phase 1 — Read the Root Sweeps
Roots telegraph with a low rumble and dust kicking up along their path. Stay near the arena's outer ring where sweep timing is easiest to read, and conserve stamina — never sprint unless a sweep is already committed toward you.
Phase 2 — Expose the Core
The Heart's core is hidden until lantern light touches it. Raise your light and hold it steady on the trunk mass; the core glows when exposed, opening a damage window. Watch your battery meter and swap cells the instant the light dims.
Phase 3 — Burn the Anchors
Three anchors anchor the Heart's power. Interact with each to ignite it, but ignition takes time and roots accelerate between each burn. Burn the nearest anchor first, then reposition to the far side to reset root patterns.
The Final Choice
With all anchors burning, the final dialogue triggers. Breaking the pact leads toward the true ending — but only if you've saved all survivors and collected every memory fragment beforehand.
In phase 3, most deaths come from exhaustion, not damage. Alternate short sprints with walking recovery, and never start an anchor burn below half stamina — you won't have the reserves to escape the follow-up sweep.
Preparation and Loadout
Boss performance in Silver Pines is decided before the fight starts. Resource discipline learned in the earlier chapters — especially battery scavenging from drawers, gloveboxes, and supply caches — pays off directly in the mine.
Boss Fight Preparation:
- Carry at least 3 spare flashlight batteries into the mine
- Stock 2 first aid kits before the crypt and mine entrances
- Collect all three ritual tokens (boathouse, ice shanty, drowned chapel)
- Save all survivors before the mine chapter for the true ending path
- Keep stamina upgrades from side quests completed
Safe room chests provide long-term storage you can return to. Deposit duplicate notes and quest keys you no longer need so your inventory has room for the resources that actually matter in the finale.
Rewards, Endings, and What Comes After
Defeating the Heart of the Pines triggers the ending branch, and which ending you receive depends on decisions made long before the boss fight. The motel room 7 choice, the chapel confession, and how many survivors reached the mine all matter.
| Ending | Condition | Boss-Fight Relevance |
|---|---|---|
| True Ending — Dawn Over Silver Pines | All survivors saved, all memory fragments, break the pact | Requires thorough run before entering the mine |
| Bad Ending — Silence in the Pines | Accept the pact, or lose 2+ survivors | Default if the run was careless |
| Hidden Ending — The Passenger | Music box quest done, locket unequipped, board the last bus | Skips the boss fight entirely |
The hidden ending bypasses the final boss altogether: instead of entering the mine, board the last bus at the depot. Complete the music box side quest (set the cylinders to D, A, F, E and turn the crank twice) and keep the strange locket unequipped until the finale.
FAQ
Q: Can I fight the Heart of the Pines boss again after beating it?
The final Silver Pines boss fight triggers at the end of the mine chapter, so replaying it requires a new run or a save made before the final descent. Keep a manual save at the lakeside checkpoint if you want to experiment with different ending choices.
Q: Is the Warden of the Pines fight mandatory?
Yes. The Warden guards the crypt beneath the Chapel & Graveyard in Chapter 4, and defeating it is required to progress toward the lake and mine chapters. Solving the gravestone symbol puzzle (Winter, Spring, Autumn, Summer) opens the arena.
Q: What happens if my flashlight dies during the Heart of the Pines fight?
Phase 2 depends on lantern light to expose the core, so a dead battery effectively stalls your progress. Bring at least three spare batteries and swap cells proactively — waiting for the light to fully dim wastes your damage windows.
Q: Does the boss fight difficulty change with my ending route?
The fight itself stays the same, but your resources differ. A true-ending run means more side quests completed, better stamina reserves, and fuller inventory — making the three-phase finale noticeably more manageable than a rushed bad-ending route.