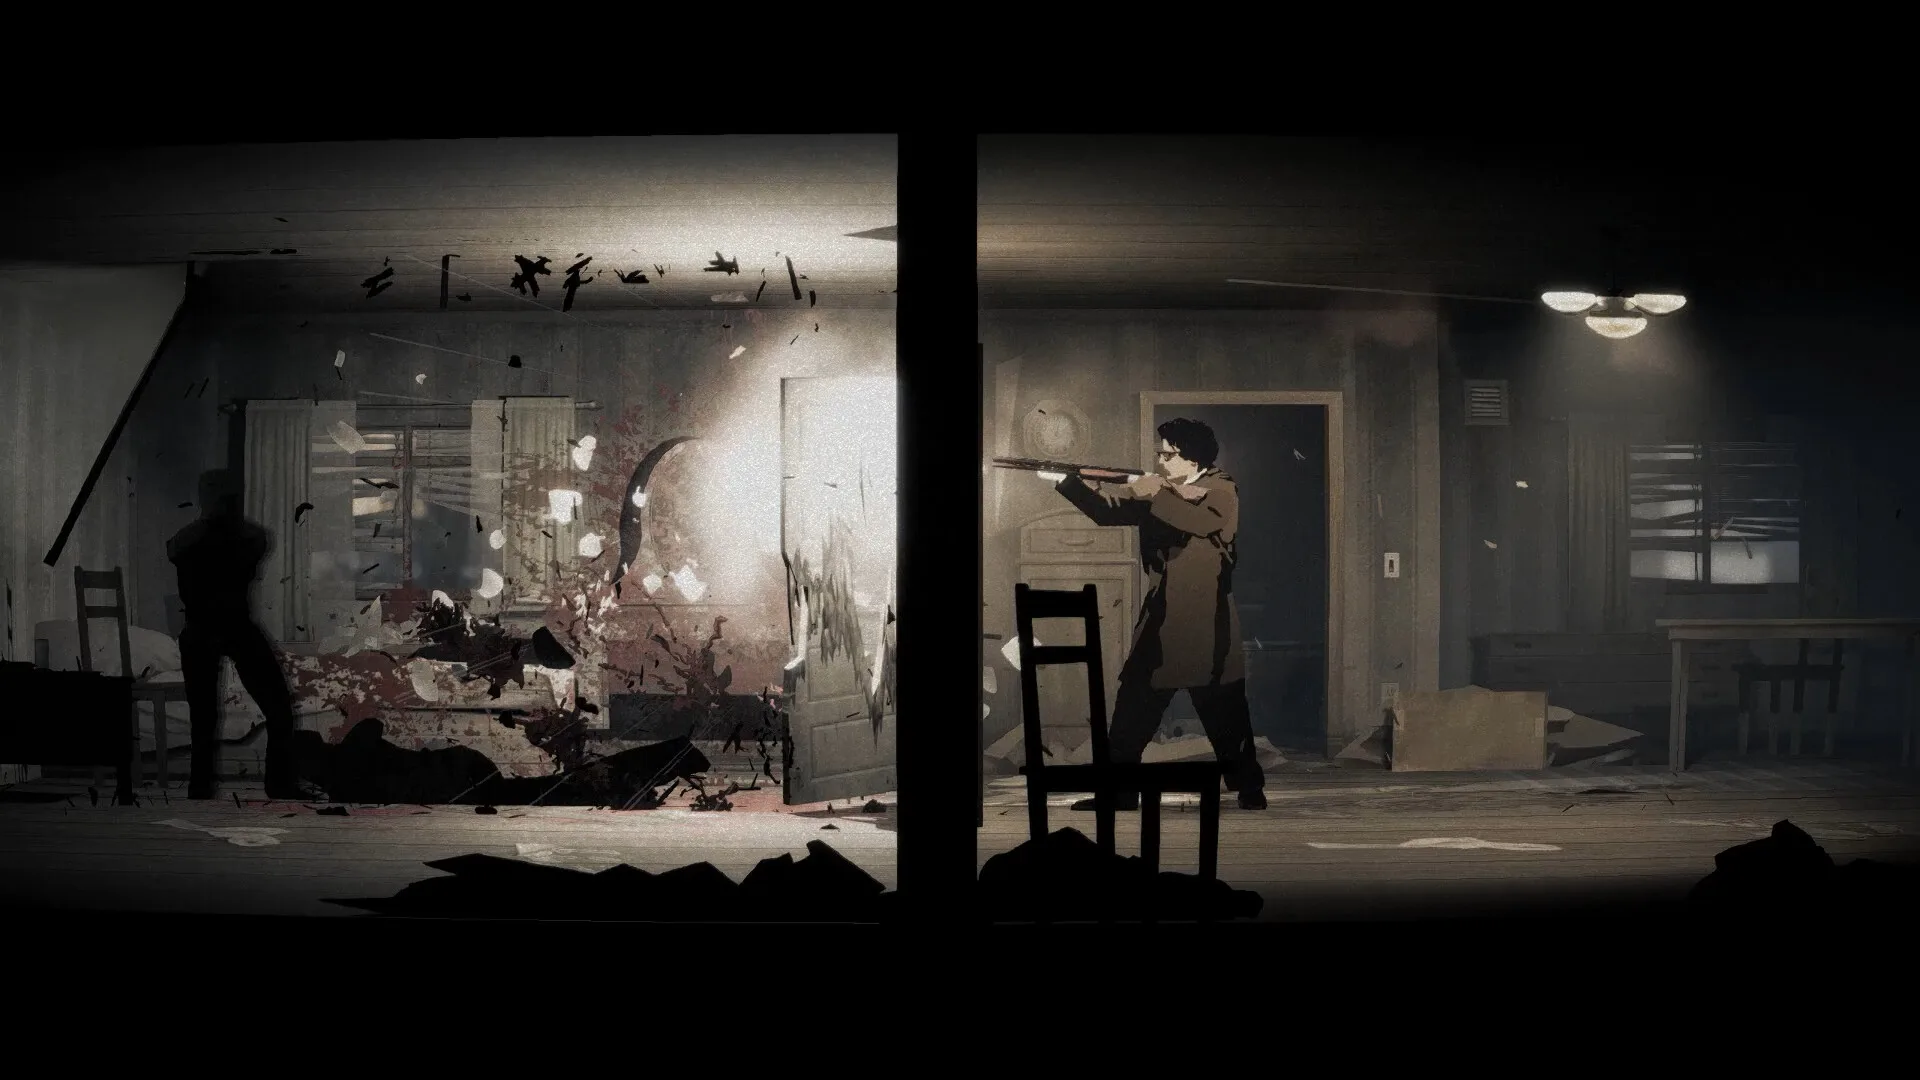
- Silver Pines walkthrough route: Bus stop, Sawmill, Motel, Chapel, Lake, Mine.
- Chapter 3 stalker: Hide under beds; sprinting draws it instantly.
- Best order: Clear one district at a time and unlock shortcuts to the safe house.
- Final boss: Three phases — root sweeps, lantern light, burn all three anchors.
- True ending gate: Save all survivors and finish the full archive before the mine.
Walkthrough Overview & Chapter Route
This walkthrough routes you through the entire town of Silver Pines in the optimal order. Each chapter below highlights the main path, essential pickups, puzzle checkpoints, and encounters, so you never miss a critical item or story beat on the way to the credits.
| # | Chapter | Key Objectives | Difficulty |
|---|---|---|---|
| 1 | Arrival in Silver Pines | Bus stop, main street, flashlight at ranger station | ★☆☆☆☆ |
| 2 | The Old Sawmill | Breaker puzzle, restore power, unlock shortcut | ★★☆☆☆ |
| 3 | Pinewood Motel | Room keys, padlock code, first stalker encounter | ★★★☆☆ |
| 4 | The Chapel & Graveyard | Lantern trail, gravestone puzzle, mid-boss | ★★★★☆ |
| 5 | The Lake & Final Descent | Three ritual tokens, frozen lake crossing | ★★★★☆ |
| 6 | Heart of the Pines | Three-phase final boss | ★★★★★ |
Optimal Route
- Clear districts one at a time
- Unlock shortcuts back to the safe house
- Check posted maps for points of interest
Essential Pickups
- Flashlight (ranger station, Chapter 1)
- Crowbar (Lakeside Shed)
- Chapel key (Motel room 7)
Boss Checkpoints
- Warden of the Pines (Chapter 4)
- Heart of the Pines (finale)
- Prepare stamina items before each fight
Post maps at ranger stations and motel lobbies reveal points of interest before you commit to a district. Read them every time — several collectibles and quest keys are easy to walk past without map context.
Chapter-by-Chapter Steps
Follow this sequence for a clean, low-miss run. The order matters: skipping the sawmill shortcut or motel keys creates backtracking later in the run.
Chapter 1 – Arrival in Silver Pines
Explore the bus stop and main street, collect the flashlight from the ranger station, and learn the basic exploration mechanics before the town's curfew begins.
Chapter 2 – The Old Sawmill
Navigate the sawmill district, restore power via the breaker puzzle in the maintenance shed (flip switches 3, 1, 4, 2), and unlock the shortcut back to main street.
Chapter 3 – Pinewood Motel
Search each motel room for keys and notes, solve the room-number padlock using guest registry clues (code 7-1-9), and survive the first stalker encounter by hiding under beds.
Chapter 4 – The Chapel & Graveyard
Follow the lantern trail through the graveyard, match gravestone symbols to the chapel murals (Winter, Spring, Autumn, Summer) to open the crypt, and confront the Warden of the Pines.
Chapter 5 – The Lake & Final Descent
Cross the frozen lake, gather the three ritual tokens hidden in the boathouse, ice shanty, and drowned chapel, then descend into the mine for the finale.
Do not sprint through the sawmill. Noise attracts the stalker, and the sawmill's tight corridors leave very few hiding spots once it starts hunting you.
Boss Strategies
Both bosses reward preparation over aggression. Learn the patterns below before you commit resources.
| Boss | Phase / Mechanic | Counter Strategy |
|---|---|---|
| Warden of the Pines | Crypt ambush attacks | Use gravestone cover, strike between swings |
| Heart of the Pines | Phase 1 root sweeps | Dodge sideways, manage stamina |
| Heart of the Pines | Phase 2 hidden core | Use lantern light to expose the core |
| Heart of the Pines | Phase 3 anchors | Burn all three anchors while avoiding roots |
Warden of the Pines
- Mid-boss at the chapel crypt
- Attacks come in two-hit chains
- Gravestones block its lunges
Heart of the Pines
- Three-phase finale in the mine
- Lantern is the key tool in phase 2
- Keep stamina in reserve for phase 3
Never enter a boss phase below half stamina. Phase 3 of the final fight demands repeated repositioning, and an empty stamina bar during root sweeps is a run-ender.
Survival Essentials Along the Route
The Silver Pines walkthrough route crosses several entity territories. Knowing which rules apply in each zone keeps your run alive.
| Zone | Entity Threat | Survival Rule |
|---|---|---|
| Northern Trails, Hollow Tree Grove | Antlered Wanderer | Break line of sight, never sprint in clearings |
| Church, Town Square at night | Hollow Choir | Crouch-walk only; salt pouches create corridors |
| Lakeside Pier, shoreline | The Lake Woman | Keep interactions short; leave before fog thickens |
| Pinecrest Woods | Mimic Deer | Check eyes with flashlight — red glint means run |
| Lodge Room 9, hillside houses | Smiling Tenant | Loot quickly; never disturb arranged objects |
Light reveals clues but attracts attention. In stalker and Wanderer territory, keep the beam off while moving and only flick it on to scan or stagger a charging entity.
Inventory space is limited. Prioritize batteries, first aid, and quest keys over duplicate notes. Safe room chests provide long-term storage you can return to between districts.
Walkthrough Checklist & Ending Branch Points
Several decisions become irreversible once the mine chapter begins. Complete this checklist before the final descent to keep every ending path open.
Before the Mine Descent:
- Collect the flashlight and crowbar
- Restore sawmill power and unlock the shortcut
- Solve the motel padlock (code 7-1-9)
- Open the chapel crypt and defeat the Warden
- Gather all three ritual tokens at the lake
- Save all survivors for the true ending path
| Branch Point | Location | Impact |
|---|---|---|
| Room 7 decision | Pinewood Motel | Steers ending route; site of a key survivor choice |
| Chapel confession | Community Church | Affects survivor trust and true ending eligibility |
| Lake shoreline choice | Before final descent | Final irreversible branch before the mine |
| Pact acceptance | Heart of the Pines | Choosing to accept locks in the bad ending |
Save all survivors, collect every memory fragment across tapes, journal pages, souvenirs, and map fragments, then break the pact at the Heart of the Pines to unlock "Dawn Over Silver Pines."
FAQ
Q: How long does the Silver Pines walkthrough take?
A direct story run following this route clears all six chapters and both bosses efficiently, while a completionist run collecting the full archive for the true ending takes considerably longer due to side quests and survivor requirements.
Q: Can I miss the true ending during the walkthrough?
Yes. Letting two or more survivors die before the mine chapter, or skipping survivor side quests, locks you out of the true ending. Key branch points occur at motel room 7, the chapel confession, and the lake shoreline.
Q: What is the motel padlock code in Chapter 3?
The padlock code is 7-1-9, taken from the room number of the final guest entry in the motel's guest registry. Inside you'll find the chapel key and a memory fragment.
Q: How do I beat the final boss, the Heart of the Pines?
It is a three-phase fight: dodge root sweeps in phase one, use lantern light to expose the core in phase two, and burn all three anchors in phase three while carefully managing your stamina.